
This article explains how to set up Job Tickets and Imposition Templates in GelatoConnect to ensure every apparel order includes clear instructions for printing and packaging. You’ll learn how to create templates for job tickets, design impositions for DTF printing, and embed them in your workflows to support consistent, efficient production.
Understanding the Job Ticket Page
The Job Ticket page in GelatoConnect provides detailed visibility into stock levels, JIT order progress, and warehouse locations for each SKU. These fields help production teams plan efficiently and avoid confusion during printing and packaging.
The Stock status column displays availability for both on-site and JIT SKUs in the format In stock (10) or Out of stock.
When stock is available and consumed for the same Print Job, the status remains In stock to indicate that material was available during production.The GCP order field (for JIT SKUs) shows the Order number and Order status, helping identify whether materials have been ordered, are in transit, or have already been delivered.
The Warehouse location field displays the physical location of the SKU as defined in GCP Inventory, allowing easier coordination across sites.
To identify print jobs that can proceed immediately, filter the Job Ticket page by JIT = True and Stock status = In stock.
Build and Customize Job Tickets
Job tickets provide essential production and packaging information for each order and are generated automatically during workflow execution.
What job tickets can include:
Order ID and SKU
Garment details (type, size, color)
Print method (e.g. DTG, DTF)
Artwork preview (optional)
Machine settings
Scannable barcode or QR code
Where they’re used:
At print stations for job verification
At packaging stations for scanning and sorting
Across departments as routing documents
To create a job ticket:
Open the Imposition Engine in GelatoConnect.
Select Create New Template and choose Job Ticket format.
Drag and drop:
Dynamic fields (Order ID, SKU, etc.)
Optional artwork previews
Barcodes or QR codes
Save with a clear name like
Apparel_JobTicket_V1.
You can create different job ticket templates for different print methods or product types.
Design Impositions for DTF Workflows
Impositions group multiple designs on a single print sheet or roll, commonly used in DTF printing to reduce waste and increase efficiency.
Benefits of using impositions:
Optimize use of film or substrate
Speed up batching and cutting
Reduce handling time during transfers
To create an imposition:
In the Imposition Engine, click New Imposition.
Select a layout type:
Sheet-based (e.g. A3, A2)
Roll-based (continuous film)
Set parameters:
Spacing between designs
Max printable area
Save your layout as
DTF_Roll_Layout_v1.
Add Templates to Workflows
Once your templates are ready, attach them to the relevant workflow steps in the Workflow Builder.
Steps to follow:
Open your workflow in Workflow Builder.
Add:
Job Ticket Template activity at the beginning of the workflow.
Imposition Template (for DTF) just before file delivery.
Assign the specific templates you created to each activity.
Generated job tickets will appear on the Jobticket Printing page, ready for printing or scanning during packaging.
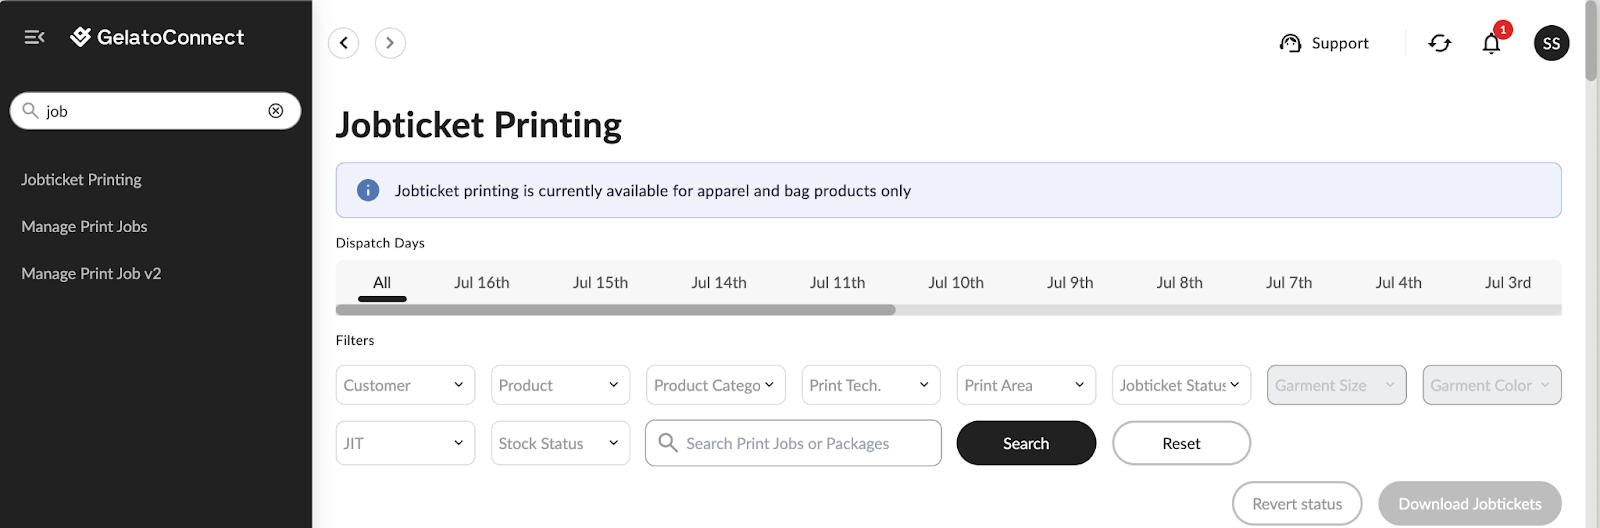
Troubleshooting: Missing Fields or Empty Space on Job Tickets
If your test job ticket shows large blank areas or missing values, some required fields are not mapped. Use your dry run to locate and populate them.
Fix steps:
Open the Fields section of the workflow activity that generates the job ticket or imposition.
Identify which values are missing (for example, SKU or Warehouse Location).
Map the fields:
Choose the field that should supply SKU data. If you see candidate values appear while mapping, that’s a good sign the workflow will resolve them at runtime.
Map Warehouse Location. In a dry run, it may display as Unassigned—that’s expected.
Save parameters and run the test again.
Check the updated output. You should now see SKU and Warehouse fields populated.
Note: Some workflows branch by customer/storefront. If there are multiple paths, verify you’re testing the correct path for your order item. Each path can have different field mappings.
Understanding Job Ticket Status
The job ticket status refers only to the status of the physical job ticket (the printed sticker). It does not reflect the actual production status of the order.
Prepared: The job ticket has been generated, but the sticker has not yet been printed.
Printed: The sticker has been printed.
Important: An order may already be in production or even printed, even if the job ticket status is still showing as Prepared. The job ticket status simply answers the question: “Has the sticker been printed?”
Tips for Effective Setup
Keep job tickets focused on relevant data to reduce clutter.
Use colors or icons to distinguish between print methods or garment types.
Group DTF jobs by material and transfer type to minimize errors.
Test ticket output on your default printer before full production.
Next step: 🔗 [GC Apparel] Order Intake Setup for Apparel