
This article provides a comprehensive overview of the GelatoConnect workflow, designed to simplify the print production process for non-technical users. It outlines the step-by-step interface that allows users to configure products, manage press equipment, and build production workflows without needing technical expertise. The article also details the workflow process, from defining products to testing orders, ensuring a smooth and efficient experience.
Understanding GelatoConnect Workflow
GelatoConnect workflow introduces a guided, step-by-step interface that allows users in the print industry to configure products, manage press equipment, and build production workflows without needing to interact with the underlying canvas-based workflow builder. The goal is to transform complex tasks that previously required technical knowledge into an intuitive, wizard-driven experience.
Who Can Benefit from GelatoConnect?
Print operations managers configuring new product lines
Production coordinators setting up press routing and batching rules
Customer success teams onboarding new print customers
Anyone needing to manage workflows without canvas or technical expertise
How the End-to-End Workflow Functions
The guided experience follows a logical sequence that mirrors the flow of a print job through a facility, from product definition to production. Here’s a breakdown of the process:
Step 1 - Define Your Products
Begin in the Product Catalog by setting up a product model, which defines the physical attributes of a print product, including its parts, accepted file formats, and available attributes like size and paper stock. After creating a model, you can create customer-specific products through a step-by-step wizard:
Select the product model
Enter basic product information (name, description)
Configure attributes by choosing applicable variants
Define variants, with the system auto-generating Product UIDs for each combination
Review and save as a draft or publish
The resulting catalog displays products in a hierarchical tree structure, making it easy to find and edit the right product.
Step 2 - Set Up Your Press Equipment
In the Press Library, add and configure the presses that will handle production. Each press record captures:
Press type: sheet-fed, roll-fed, or DTG
Substrate configuration: sheet size, roll width, paper weight, etc.
Once configured, these presses become available for selection when setting up workflows and routing rules.
Step 3 - Build a Workflow
The Workflow Builder features two layers: the existing canvas editor and a new Guided View. Most users will work in the Guided View, starting by choosing a template (e.g., Book, Poster, Apparel) that identifies pre-configured automation and required user input.
Users can view a summary of the selected workflow, including stats and recent activity.
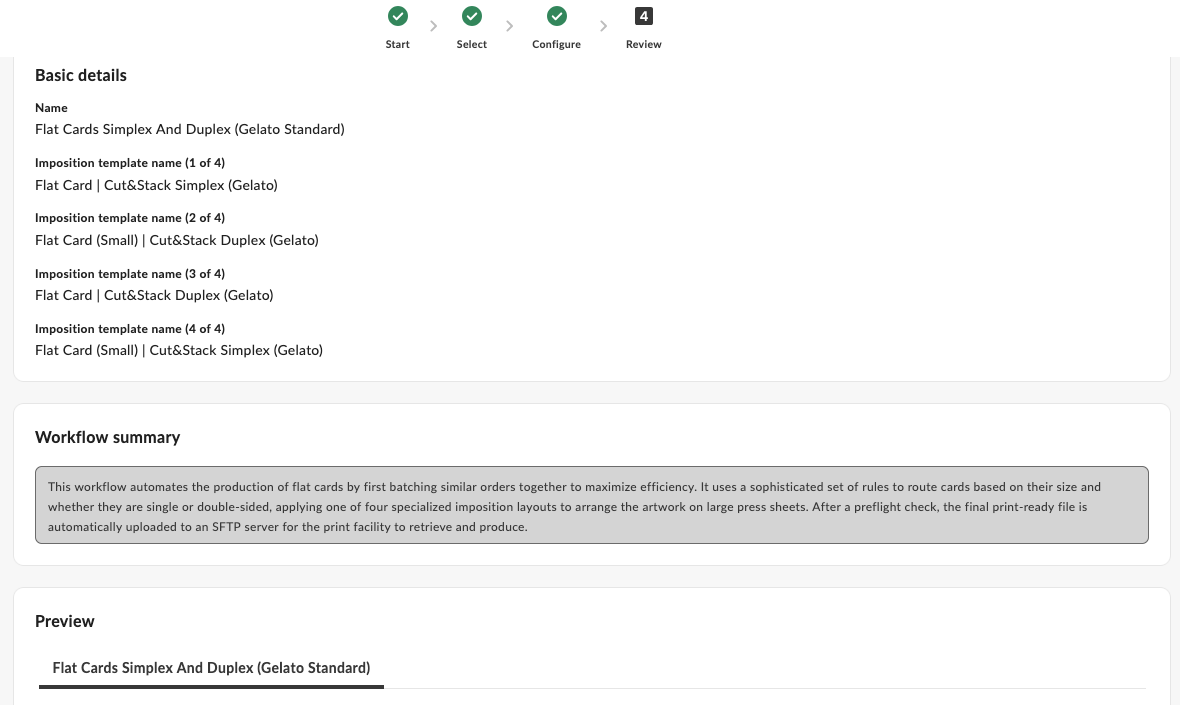
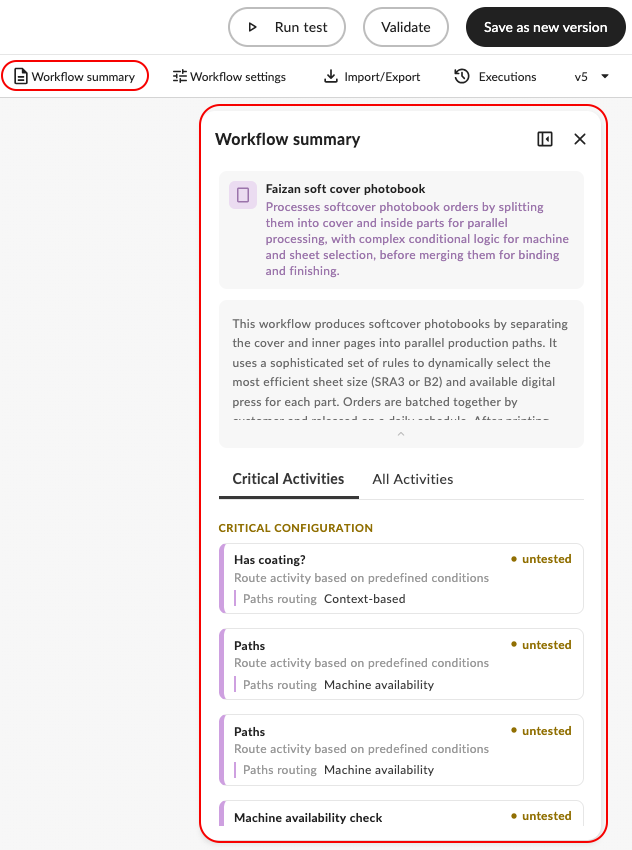
Workflow Summary
A summary of the workflow provides an AI-based description and a section to view critical activities, allowing users to configure activities by clicking on them.
Routing Rules
If a workflow requires routing jobs to different presses based on job characteristics, the Routing Rules Engine allows users to define a priority-ordered list of rules. Each rule can specify:
Conditions: size-based or product-type-based
Press assignment and imposition settings
A fallback to a manual review queue if no rule matches
A built-in test tool enables users to validate their setup by entering job dimensions and seeing which rule would match.
Step 4 - Configure Batching
Batching rules control how jobs are grouped and released to the press. The Batching Rule Creation Wizard guides users through four steps:
Basic settings: name, description, and optional batch size limits
Release conditions: time-based, manual, threshold, or instant release
Reprint handling: configure how reprints are treated within a batch
Review: confirm and save as draft or publish
Batching configuration controls grouping criteria, limits, time windows, and queue bypass rules, with a live batch preview showing real-time status.
Step 5 - Set Up Post-Press Finishing
Post-press finishing steps are configured per workflow and adapt based on product type. Available operations include:
Lamination with machine selection
Cutting with machine selection
Mounting with machine selection
Folding, Binding, and Coating
Steps are shown as expandable cards in the workflow detail, allowing for easy configuration based on product type.
Step 6 - Test Before You Go Live
Before activating a workflow, use the Test Order tool to validate the setup:
Select a product model, customer product, and variant
Upload test files per part with type validation
Choose an API connection filtered by customer
Preview the JSON request payload
Send and review the result
Test results are logged with pass/fail/warning status, error details, and a link to the full execution record, allowing for re-testing after changes.
FAQs
What is GelatoConnect?
GelatoConnect is a workflow solution designed to simplify the print production process for non-technical users.
Who can use GelatoConnect?
It is suitable for print operations managers, production coordinators, customer success teams, and anyone needing to manage workflows without technical expertise.
How does the workflow process work?
The workflow process involves defining products, setting up press equipment, building workflows, configuring batching, and testing before going live.