
This article provides a comprehensive guide on how to effectively create and upload files for printing with Gelato, ensuring optimal print quality and design flexibility.
Creating Print-Ready Files
You can directly upload files that are ready for printing. Gelato accepts PDF and image files for a seamless printing experience.
Steps:
Go to the product page of your chosen item.
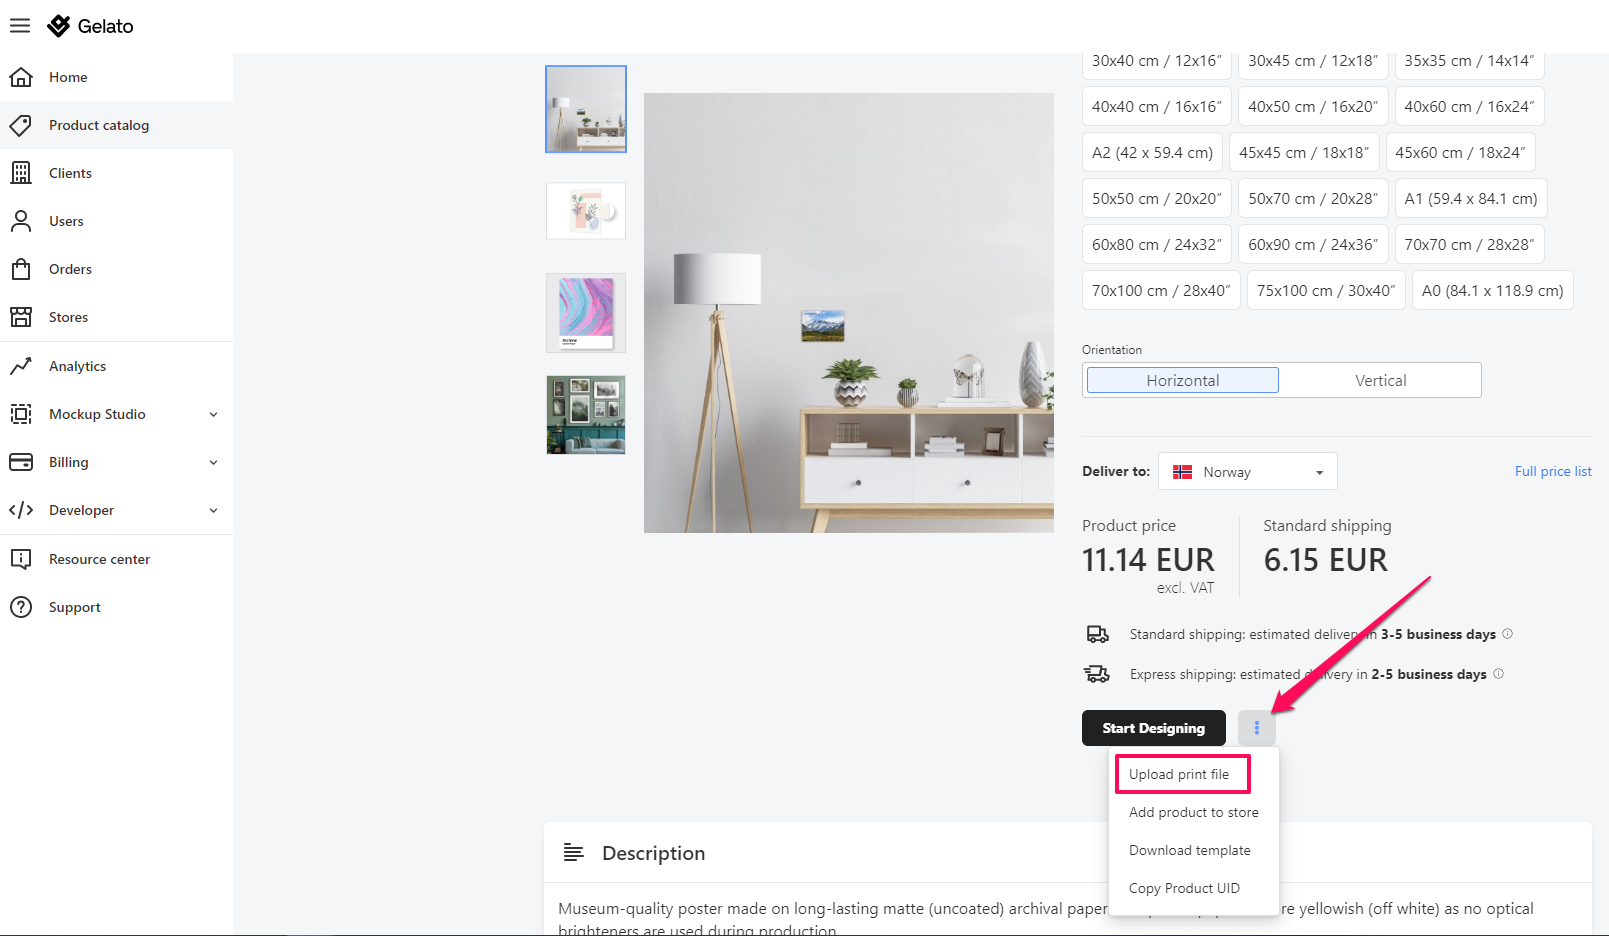
Click on the "Upload print file" button.
Select and upload your prepared PDF or image file.
Please note that once a print-ready file is uploaded, you won't be able to resize it. For optimal results, ensure your files adhere to Gelato's file requirements.
Designing with Gelato's Design Editor
For those who prefer to design directly within the platform, Gelato offers a user-friendly design editor. This tool allows you to create files from scratch or customize existing ones.
Key Features:
Start with a blank canvas or upload a PDF, PNG, JPG, or HEIC file as a base.
Incorporate text boxes to add personalized messages, headings, or descriptions.
Move and resize elements to achieve your desired layout.
Steps:
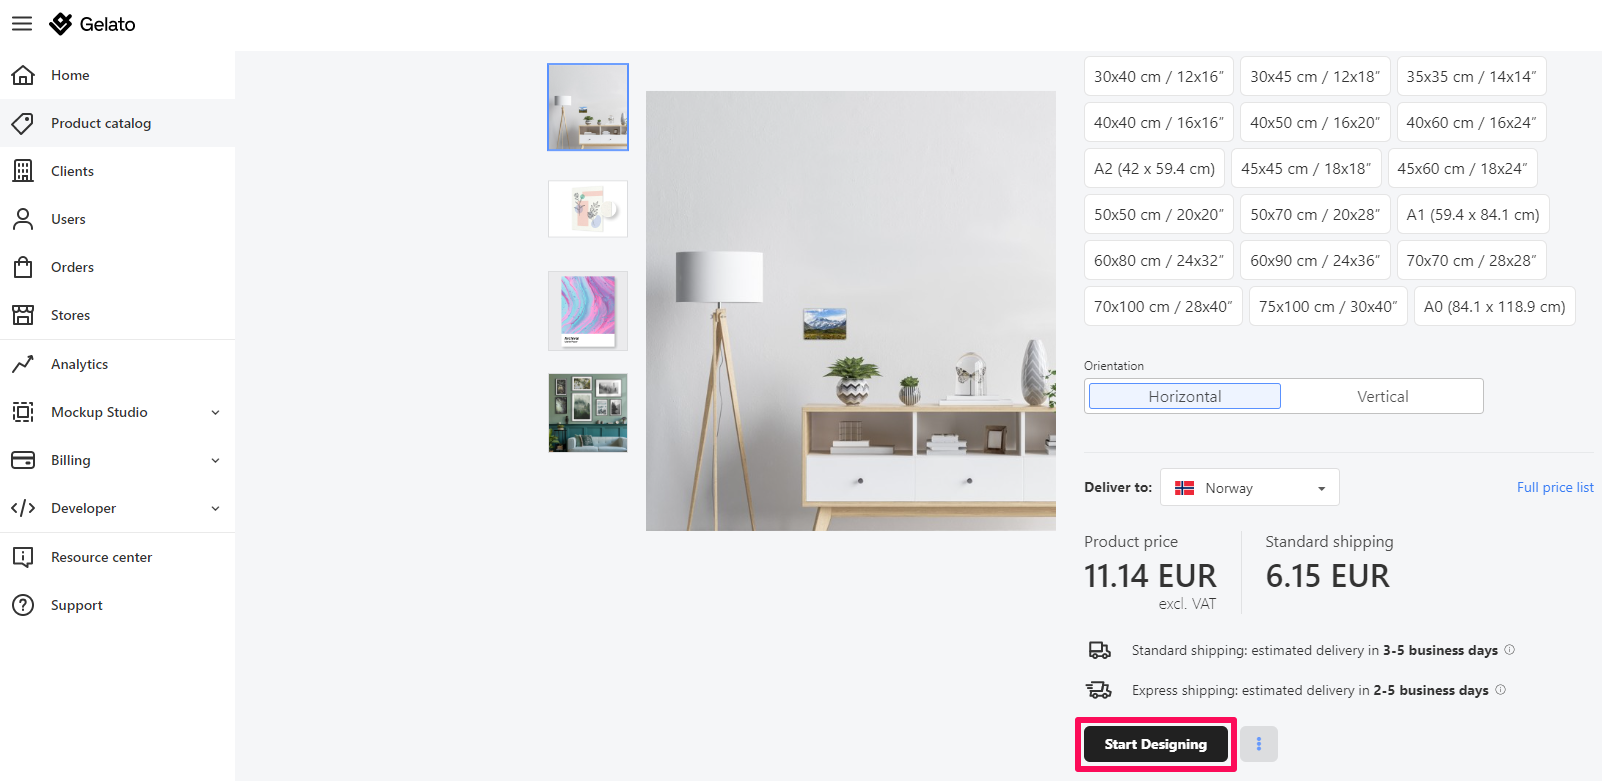
Navigate to the product page you're interested in.
Click on the "Start designing" button to launch the design editor.
Utilize the available tools to create or modify your design.
Design Tips for Optimal Printing:
Troubleshooting Upload Errors
If you see an error message saying:
"The file you uploaded has problems, we cannot process it properly, and your order may fail with this," it might be due to a missing file extension in the filename.
To fix this, simply rename your file by ensuring it includes the correct file extension. For example:
example → example.png
design_file → design_file.pdf
This small adjustment should resolve the issue, and you’ll be able to upload your file successfully.