
This guide provides a step-by-step process for connecting Amazon stores to GelatoConnect, allowing for automated order flow from Amazon directly to your production workflow.
Prerequisites
Before you begin connecting an Amazon store to GelatoConnect, ensure you have:
Customer set up in GelatoConnect: The customer who owns the Amazon store must be created with Storefronts access enabled
Active Amazon store: The store should be on an Amazon Professional Seller Plan that supports API integrations
Admin access: Either the PSP (Print Service Provider) or your customer must have administrator-level access to the Amazon store to authorize the connection
Connection process overview
The connection process involves four key phases:
Preparation: Ensuring proper setup in GelatoConnect
Store Connection: Establishing the link between Amazon and GelatoConnect
Product Setup: Configuring products for printing
Testing: Validating the integration with test orders
Let's walk through each phase in detail.
Phase 1: Preparation in GelatoConnect
1) Set up your customer and give them access to Store Link
1) Go to the Customers section in the left navigation menu of your GelatoConnect account. Select the customer who owns the Amazon store. If they do not already exist, add a new customer.
2) Select the customer and then navigate to Edit customer in the top right of the page.
3) Enable the toggle "Enable storefronts".
4) Provide your customer's email address, first name, and surname
5) When you click the "Add admin" button, an email will be sent to your customer with details on how they can login to Store Link
4) Prepare your product catalog
Before connecting the store, ensure you have products configured in GelatoConnect:
You will need to have created product models and customer products
Within a customer product, you can define which customer should have access to this product
You can subsequently use the catalog management section in GelatoConnect to group your products in categories which are presented to your customers
Phase 2: Connecting an Amazon store
1) Log in to Store Link
2) Navigate to Stores:
Click on the Stores tab in the left side navigation
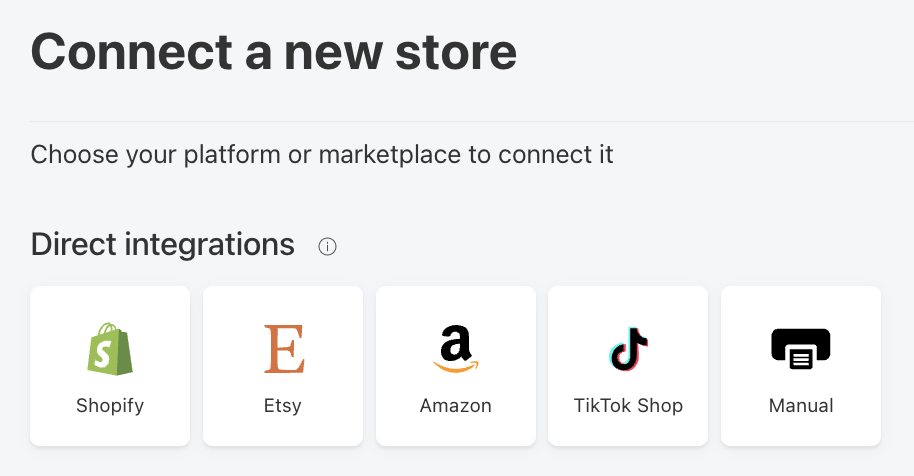
Click on the Amazon icon to begin the connection process
3) Select which Amazon marketplace region you want to connect to.
4) Authenticate with Amazon:
You'll be redirected to Amazon's authentication page
Log in if prompted
Review the permissions requested by Gelato
Click "Confirm" to approve the connection
5) Confirm Connection:
After authorization, you'll be returned to the Store Link dashboard
Verify your store appears in the list of connected stores with a "Connected" status
Phase 3: Connecting listings
Once the store is connected, your products in GelatoConnect need to be linked with product listings on the Amazon store. There are three methods for connecting products:
Method 1: Connecting existing Amazon products
If the store already has products that need to be produced through GelatoConnect:
Sync Products:
In the Store Link dashboard, click on the connected Amazon store within the stores list
Click the Sync Products button in the top right to retrieve the store's current product listings from Amazon
Wait for the synchronization to complete
Map Products:
After syncing, all Amazon products will appear in the All products tab
For each product that needs to be produced, click on the product and then click on the Connect button
You will see the product catalog you previously defined in the GelatoConnect catalog management section
Choose the product you want to connect from the catalog
For products requiring design files, you will be directed to the design editor where you can upload a design file to your product
Click Connect to save the mapping
Method 2: Creating new products in Store Link
To create new products that will be published to the Amazon store:
Navigate to the Amazon store within the Stores list
Click on the Add product button in the top right
You can add a completely new single product or select one which has already been added to an existing store
If adding a new single product:
Select a product from the product catalog
Add a design using the design editor
Configure the product details (mockups, name, description, price)
Then publish the product to the Amazon store
Method 3: Bulk product connection
For stores with many listings, you can use the bulk operation feature to connect many products with files hosted on services like Dropbox or Google Drive. More information about this can be found here.
Phase 4: Testing the integration
Place a test order:
Go to the Amazon store
Purchase one of the mapped products
Complete the checkout process
Verify order receipt:
Check that the order appears in the Store Link Orders section
Verify it also appears in your GelatoConnect dashboard order intake manage orders page
Confirm that all order details are correct, including:
Customer information
Product specifications
Design files
Shipping details
Follow order through production:
Track the test order through your production workflow
Verify that status updates reflect correctly in Store Link and in the Amazon Seller Central dashboard
Amazon-specific considerations
Brand Approval for Amazon Listings
Amazon uses generic branding for new products by default. If you wish to use specific brand names, brand approval is required.
Brand Approval is necessary to list products under an established brand name
Brand Registration safeguards your brand through Amazon's Brand Registry program (separate from approval)
Steps to get Brand Approval:
Prepare required documents: Gather product samples and clear photos showing branding on the packaging and the product
Submit a Brand Approval Request: Apply through Amazon Seller Central. Requests are typically processed within 48 hours
Ensure accuracy: Brand names are case-sensitive — double-check for correct formatting in your request